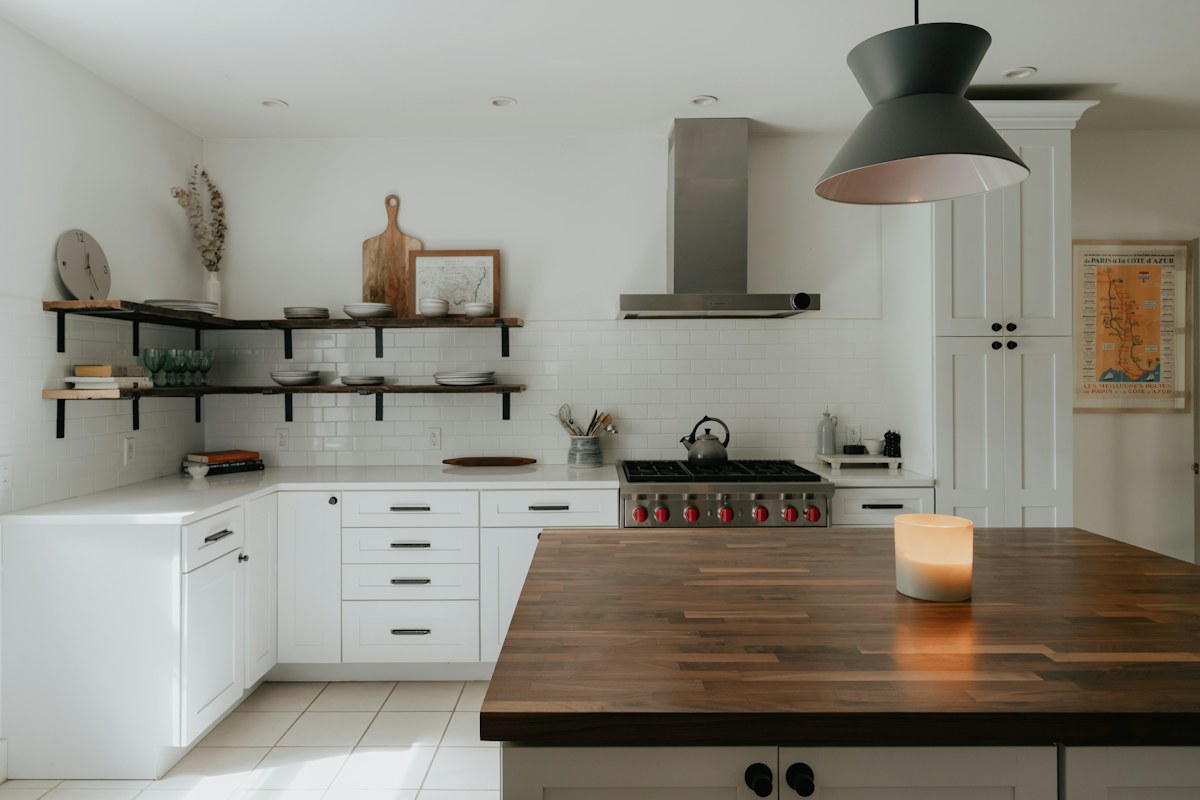
A wooden counter can be the best place in a kitchen to put a bowl down. It can also be the first surface you start protecting when a pot comes off the stove or a wet pan reaches the sink. It helps to decide what the counter will do before filling it with equipment. There may be one section suited to prep, another that makes an easy place for a cool dish, and a small area that needs to stay clear so you can wipe it at the end of the day. Each section can serve the meal without asking the material to do something its finish was never designed to handle.
Look at the part of the counter that already stays most useful. It might be the place where the knife and board always appear or the area you leave empty for the first bag of groceries. Think about how it meets the sink, wall and cabinets. See where water travels when you wash something and where you reach when you want to put it down. If the worktop is being installed, ask the supplier how the particular material and finish should be used and maintained. If it is already in place, identify the care instructions before trying a new cleaning product or finish.
Identify the surface before choosing a routine
Two wooden worktops can require different care even when they look similar. Ask whether the surface is solid wood, a veneer or a material designed to look like wood. Find out how it is finished and check any instructions about contact with food, cleaning products, heat and moisture. A shiny surface may owe its appearance to a coating, and a low sheen surface may still have a finish with particular restrictions. Follow the information for the actual product. If you cannot identify it, ask the manufacturer, supplier or owner for guidance and use an appropriate separate preparation surface while you sort it out.
Read the care directions with the kitchen in mind. If the surface should be wiped promptly after spills, make a cloth easy to reach from the place where water is most likely to land. If the directions call for protective mats under particular items, identify what you need before putting a coffee machine or dish rack there. Check the appliance guidance too. The space below and behind it may need ventilation or another clearance. A mat that keeps drips from spreading should be suitable for both surfaces and should not trap moisture where you cannot see it.
Make room for an appropriate cutting board, even if the worktop looks like one. A board can be moved, cleaned and put away, and the surface underneath can stay dedicated to supporting it. Choose boards appropriate to what you prepare and keep food handling practices suited to the ingredients. Follow the maker's care instructions for the boards and the counter. See how much space the board takes up with a bowl alongside it. If the prep area needs to hold both, keeping a row of jars across the back may leave too little depth.
Give water a short route
Watch the counter the next time you rinse something. Put the wet item in the place it naturally goes and notice where it drips. Near a sink, the space between a drying rack and the edge may take a small amount of water every day. Set up suitable equipment so you can direct water where it belongs and wipe the part that receives it. Check the seams and the area around the fittings without assuming a surface that feels dry in front is dry underneath the objects sitting on it.
If the worktop has a particular seam or end near the sink, follow the installation and care requirements for that area. Do not modify the surface or try to seal a leak without the appropriate guidance. If moisture repeatedly reaches a part that is difficult to inspect, move removable items and seek the relevant help if you suspect a problem. You can make the everyday route for wet objects shorter while leaving the underlying issue to the person who can diagnose it. A dry landing for a clean item can be beside the sink and still leave the seam easy to see.
Try washing one item and clearing the area afterward. The towel, rack and cloth should have somewhere to go when you finish. Think about where a tray dries when you lift it. A removable tray that sits wet on the same patch of counter for days can make it hard to see what happened underneath. Follow its directions and leave time and space to wipe the worktop as needed. Putting a cloth in a reachable spot before a busy meal can be more useful than making room for another organizer behind the sink.
Leave a landing for the work that comes from the stove
Put a trivet or other heat protection suitable for your worktop and cookware where the instructions allow it. Check the placement when the kitchen is busy. A person setting something down should be able to see and reach a suitable heat-resistant landing without crossing the path of somebody washing dishes. Keep the landing clear while cooking. It should not share a space with cloths, packages or other items that could be exposed to heat. If there is no clear position next to the stove, decide on an alternative supported by the equipment and room layout before you start.
Try the route with a cold empty pan. See which hand you use and where you need space to turn. You may find the area nearest the stove should stay empty until you need the landing. A rack of utensils can move to the other side if it occupies the easiest spot. Consider the space for pot handles, doors and drawers at the same time. An oven door may block the lower part of the route when it is open. Leave enough clear space for the movement you need without having to reach around a corner with cookware.
Look at how the stove and counter are used by different people. Someone may do more baking and need a place for a tray, while another regularly puts a cool serving bowl beside the stove. Keep an appropriate landing that can be used for the relevant cookware without moving a collection of small objects out of the way. If the worktop maker calls for different protections for different tasks, have the right one ready. The point is to make the normal safe movement the one that is easiest to repeat on a weekday evening.
Use the space behind the work as carefully as the front
A few items along the wall can be convenient if you use them often. Look at the depth the actual work needs before putting the items back. A board should sit fully supported with space for your hands. A mixing bowl should be able to turn without touching a stack of packages. Put the things you use every time close enough to reach. Move occasional objects to a place nearby if keeping them at the back makes the preparation surface feel shallow. The open area is part of the kitchen's equipment even when there is nothing sitting on it.
Decide whether a small tray would make a group of items easier to move. A tray holding seasoning containers can be taken off in one trip when you need to clean. Make sure its feet or base are suitable for the counter. Check what happens if liquid spills beside it. A broad flat base can collect moisture underneath when you do not expect it. Leave room to lift it and see the surface. If you have to carry several heavy objects to get underneath, put fewer things in that position.
Look at the finish under ordinary light at the end of the day. A patch that looks different could be a reflection, residue, wear or something that needs closer attention. Use the maker's instructions before treating it. A routine suited to one finish may be unsuitable for another. Keep the information where you can check it when somebody suggests a new cleaner. The easy routine should help you deal with ordinary use without trying to restore the surface each time a meal is cooked.
Check the counter after a meal you often make
Follow the path from ingredients to cooking and clearing. See which objects you pick up more than once and which surface stays clear long enough to be useful. If you moved the dish rack to reach a board, give them separate positions. If the landing for a pan was occupied by a stack of groceries, find where the groceries can wait instead. Change the part that interrupted the movement and test the next meal. You may only need to move a few objects and make the appropriate protections easier to reach.
Keep the areas you can wipe, see and use without rearranging the entire room. The wood can be an everyday part of the kitchen when the work it supports suits its finish. A clear place for prep, a route for water and a landing you can reach are enough to give the counter work you will notice each time you cook.