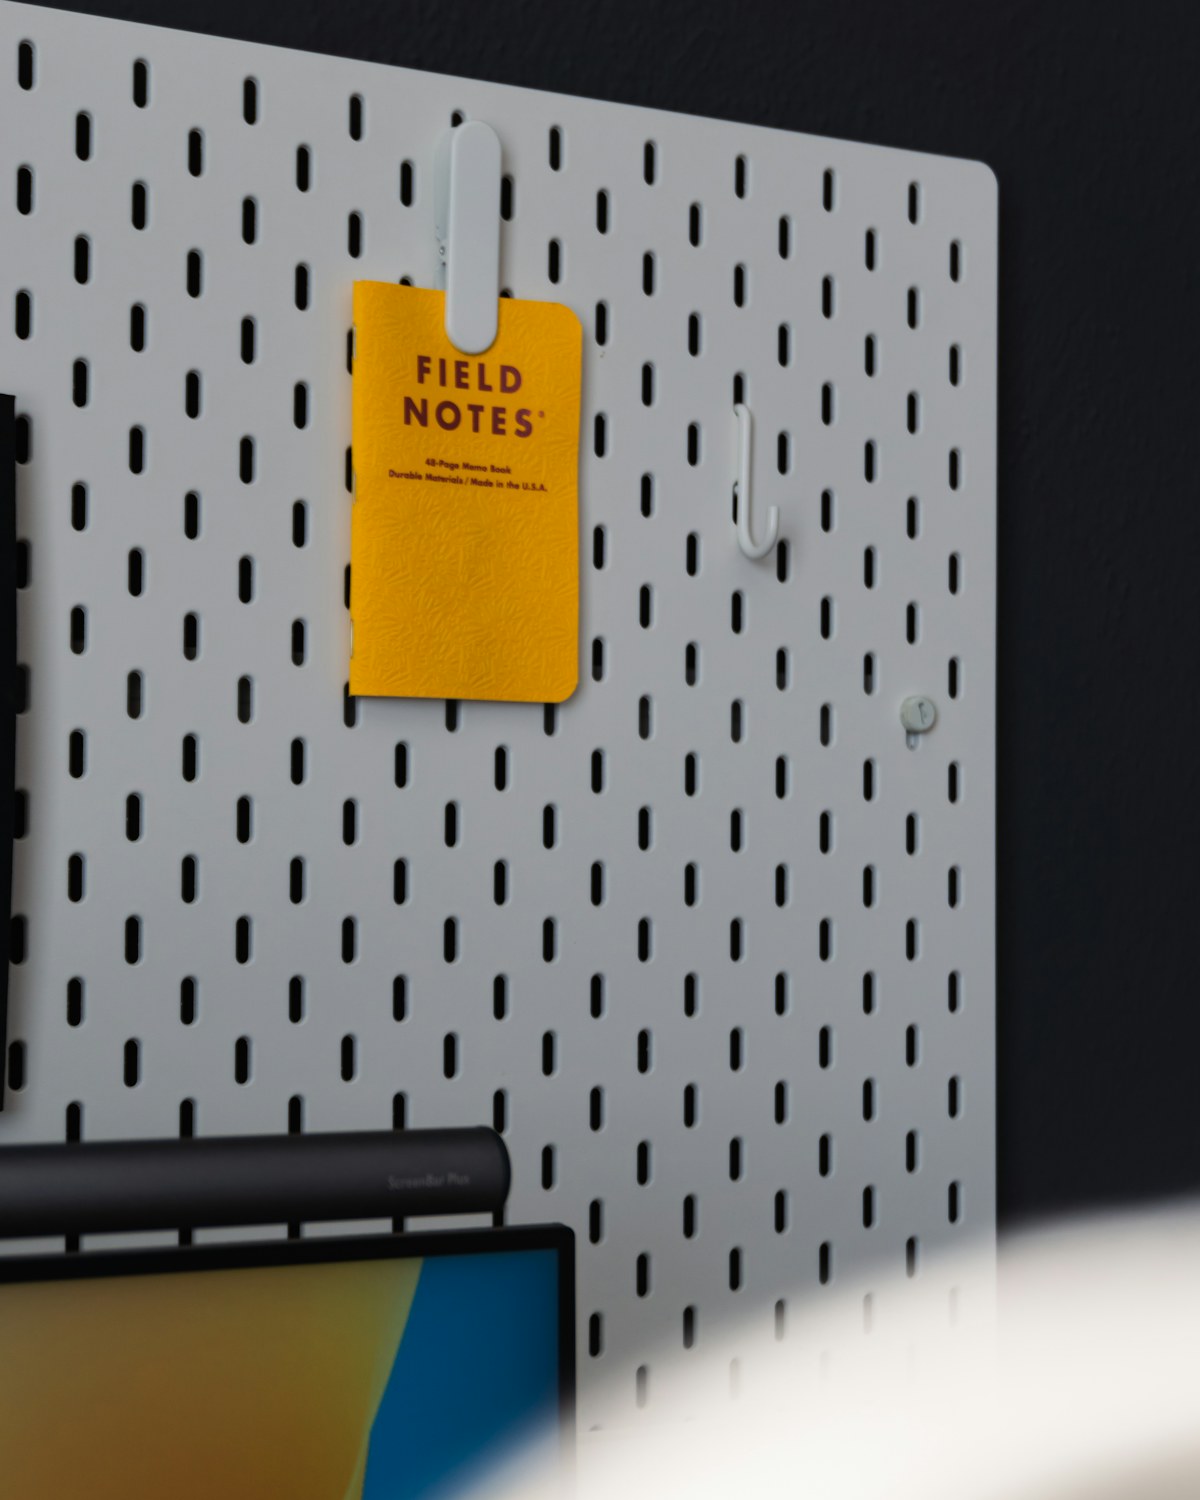
The first thing to put on a tool board might be a piece of paper. It is the note with the measurements for the shelf, or the name of the part you mean to replace. It needs to stay visible while the work moves from the bench to another room. If you start there, you can organize the board around a repair that is actually happening. The space around the note can hold the few tools you need next. When the work is finished, those tools can go back to places that make sense without filling all the holes.
Make a list of the small jobs that happen at your bench. A loose cabinet handle, a picture frame that needs new hardware and a piece of furniture that needs to be measured all have different starting points. Some involve a few hand tools. Others need a clear surface and a way to hold small pieces. Look for the equipment that occurs on more than one list. The pegboard can give those objects a known position, while the rest can remain in storage designed for them. A clear bench is a good result even if part of the board stays empty.
Start with a measurement you will make again
Take a familiar hand tool out and try the movement you would use to get it from the board. You may have to lift and turn a tape measure before it comes off its support. A ruler may need space above it to clear a hook. A small pencil that sits beside it may be more useful in a compatible cup than under the same strap. Give each item a place that suits its shape and the movement you make to take it down. The gap between two tools can be as important as the holder itself.
Draw the outline of the board onto a piece of paper or cardboard. Lay the tools on it while it is flat and note where the compatible holders would sit. Leave enough room around each one for your hand. Check the manufacturer's information for the board and accessories, including the permitted arrangement and loads. A long item can look perfectly supported in a drawing and still need a different holder to stay put in the position you want. Look at the part that actually makes contact with the support. Then check how the tool can be released without disturbing the items nearby.
Try placing the paper sketch at a comfortable height while somebody holds it or in another safe temporary position. Can you see the note over the piece of furniture you would have on the worktop? Can you reach the measuring tools without leaning over a project? A shorter board that occupies the part of the wall within easy reach can be more useful than a full-height board with several positions too high to work with. Leave room to see the wall above the bench. That helps you identify a measuring tool quickly even when the rest of the space is in use.
Give small tools a short sequence
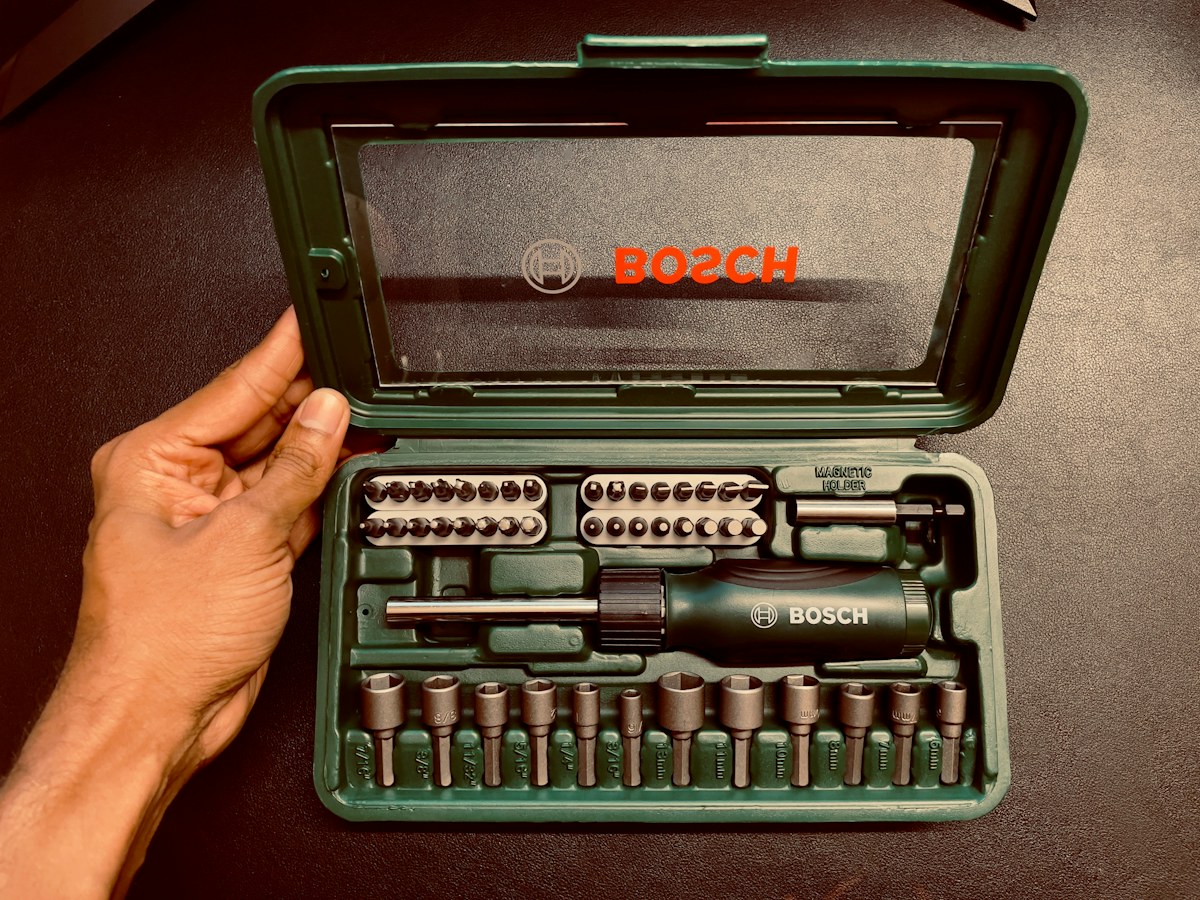
Set out the things you need to adjust an ordinary loose handle. A hand driver and the correct bit may be the two things you touch first. A small tray can hold hardware while the work is underway. Keep each thing near the spot where you need it instead of using the board as a single large group. Put the compatible bit holder in a position where you can take it down without moving the driver. A short sequence also helps you return the parts when you are finished. You can look at a gap and see which piece is still on the bench.
If you regularly use several types of drivers, give them distinct positions that let you read or identify them. A heavy handle may be awkward to store high or directly above a work area. Follow the holder and board limits and keep items securely supported in their intended positions. Put sharp or dangerous items, and anything that must be secured against access, in storage appropriate for the household. An open pegboard can be a good place for a small group of suitable objects. It doesn't have to serve as the main home for tools that need their own cases.
Consider what happens when a second person uses the bench. The tool they need should be reachable from the side where they work. A small note can name the holder if the two of you tend to return a tool in different places. Give shared pieces one recognizable spot. If you share bits or other small parts, keep them in a secure compatible holder or case, and keep the worktop clear enough to open it. The board can make the sequence easier to learn if a person can see the measuring tools, the task tools and a place for the current note without moving anything.
Decide whether the wall is suited to the board
Confirm permission if the room is rented or shared. Read the system's mounting instructions and find out what wall, fasteners, support and clearances it requires. If you cannot confirm that the wall and installation will support the system safely, get help from an appropriate owner, installer or professional. Do not guess about what is behind the surface. You can still plan the useful positions on paper or choose a suitable freestanding system if that better fits the room. The choice of support comes before the choice of which tools will be on it.
Look at what the proposed board would cover and what has to remain accessible. A shelf above the board might keep a long tool from coming out at the top. A switch or outlet may occupy the exact area where you planned to set up a holder. Leave the required clearances and avoid interfering with lighting, cables or ventilation. Test nearby cabinet doors at their full working positions. Leave enough room for the hardware and tools even when another part of the room is open and in use. The board should make the bench easier to work at without making the rest of the wall harder to use.
Once a supported system is installed as directed, check it before putting it under load. Follow the directions for compatible accessories and any distribution limits. Try taking an item off and returning it while the area below is clear. Look for movement you did not expect and follow the maker's guidance if something is loose or damaged. A tool should sit where you placed it without leaning against its neighbor. Use a different holder or a suitable storage position if the intended motion needs more space than the board can give it.
Give the current repair somewhere to pause
A small repair can stop halfway through while you look for the right part. Decide where the loose hardware will wait and where the note goes. A suitable labeled container on a nearby surface may be enough for the pieces. Store any partly completed object securely and keep the route around the bench clear. If you use the board to hold a note, put it where you can read it at the start of the next session. That can save time looking through hardware and guessing which of several loose pieces belongs to the current project.
Move the note out when the job is finished. Return each tool as you use it for the last time. Pay attention to the one that stays on the bench because it is awkward to put away. You may be able to move its holder to a position you can reach comfortably or give the neighboring tool another home. Recheck the board instructions when you make a change. If you always leave the same tool on the bench, ask whether it belongs there for the next operation or whether the board has simply made returning it harder.
Try putting a small object on the worktop after you clear it, and imagine using the next set of tools. There should be room to set the item down, get the note into view and work through the order you expect. If the empty space is all at the far end where you rarely stand, move the useful group toward the point you approach. A bare part of the board can remain available for a future task. Keeping it clear means you can make the next change without rebuilding the entire wall.
Look at what actually came off the wall
After several jobs, compare the tools on the board with the ones you used. Take notice of a tool you reached for when you hadn't planned to. It may deserve a closer place if it is appropriate for the board. A tool that never came down can still be useful elsewhere. Give it a suitable position, and see what the empty space does for the other tools. Sometimes a little more room around a holder makes every movement in that area easier.
The board can stay the same while the work changes. The note can describe a different job, the worktop can hold a different object and the measuring tools can remain where you expect them. If you can identify what you need, take it down without touching its neighbor and clear the bench at the end, the board is ready for another repair.