The cardboard is open, both long panels are on the floor and four nearly identical screws have rolled out of a pouch. The instructions want the shorter pair. This is the moment when an empty mug for hardware and a well chosen screwdriver become more useful than the rest of the toolbox. Most small furniture assembly starts with a careful inventory and ends with the checks the maker specifies. You can keep the tools close enough to use without spreading every object you own across the room.
Open the instructions before opening the small bags. The diagram of required tools is worth keeping in view. Work on a clear, stable surface with the room to set panels down as directed. If the instructions call for two people, plan the job for a time when a second person is available. A tall bookcase or cabinet may need anchoring and suitable installation points. Deal with those instructions before you start. The last page can affect where the entire job happens, even when the first step consists of attaching two short pieces together.
Read the hardware page with the bags closed
Find the labels for the main kinds of fastener. Some kits include small bags printed with letters. Others group everything into compartments and identify each fastener by shape and length. Compare them through the packaging before putting them into containers. A long screw in a shallow hole can damage the face of a panel. One of the most useful things you can do with the parts page is to mark the two parts that are easy to confuse. That makes you look at the right difference when you are already holding the screwdriver.
Lay out one container or section for each bag you need to open. A shallow dish gives you enough light to see the head of a screw. For small projects, you can keep most of the fasteners in their labeled bags and open the next one at the point where you need it. Use the letter on the instructions to mark an unlabelled compartment if you move its contents. Write the label before you open the next bag. Similar metal parts are much easier to keep apart than to identify once they are mixed.
Check the count while the names are clear. Some kits include spare hardware. Read the instructions before assuming a remaining part can be left out. If a required piece seems missing or damaged, check the packaging, then ask the supplier for the correct part. Substitutions can change how a joint works, including when two pieces look similar from a distance. Put empty bags and packing material in a separate place until the job is checked. This keeps them out of the assembly area without making it difficult to look for a small missing piece.
Match the tool to the fastener you can see
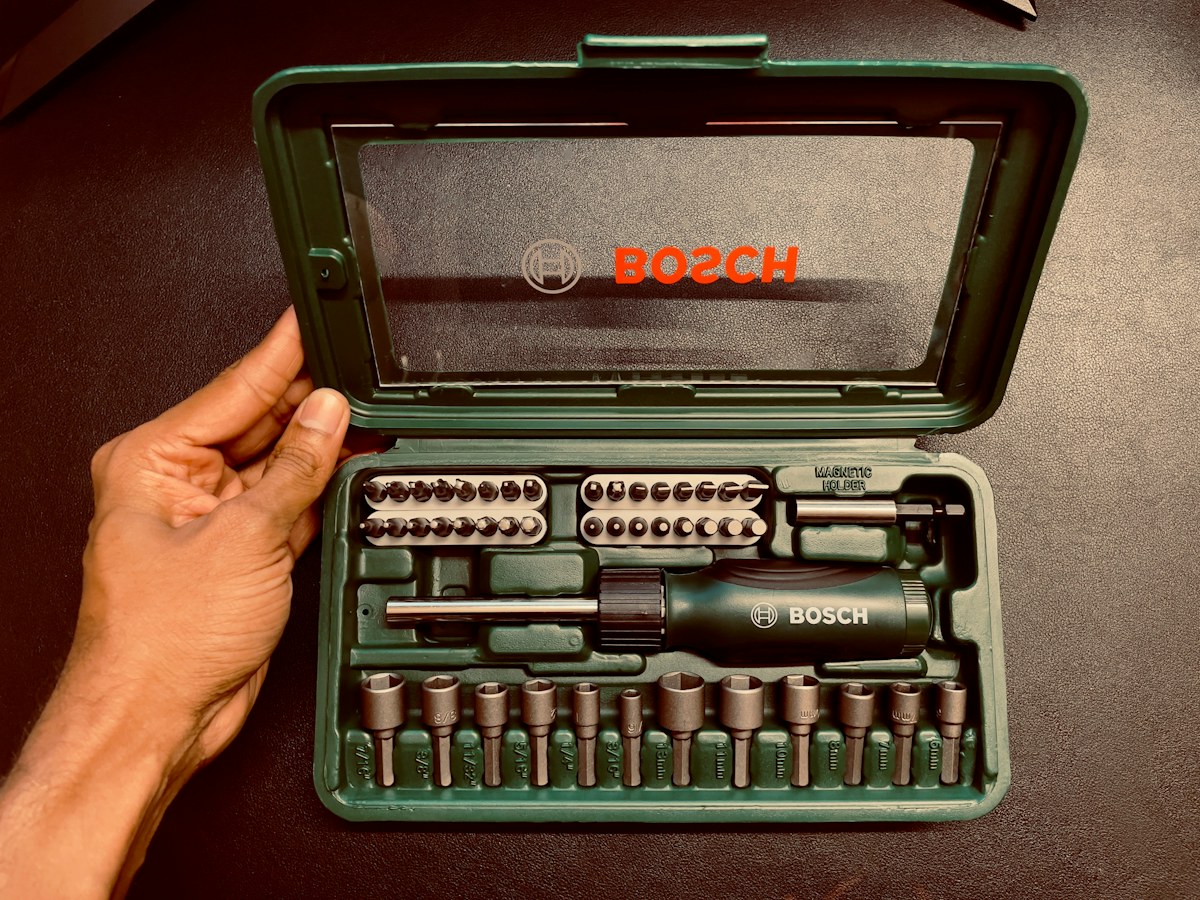
Use the size and type specified in the instructions. If the kit comes with a hand tool, check where the instructions want you to use it. A tool that fits a fastener properly sits down in the recess with little play. It should let you turn the fastener without hopping across its face. Crosshead screws can be easy to confuse. A screwdriver that turns the screw a little can still be a poor fit. If the fit feels loose, stop and confirm the type and size instead of using more pressure. Once the recess is damaged, the screw may be difficult to finish or remove.
A screwdriver with a handle you can grip comfortably often matters more than a large set. If the kit requires a hex key, use the one specified and make sure it engages fully before turning. A ruler or tape can help distinguish fasteners when the parts list shows a dimension. Match the measurement to the diagram, because the maker may measure the fastener from a different point than you expect. Put the right driver on the side of the tray you will reach with your usual hand. Put a second driver elsewhere if both are needed, so they are easy to distinguish when you look up from the panel.
Use a power driver only when it is allowed for the step and you can follow the instructions for its use. A small screw going into a manufactured panel can be damaged if it is driven too far. Some furniture hardware is tightened to a particular position and may be easy to turn by hand. If you are unsure whether the fastener is seated or the pieces are aligned, a hand tool gives you time to feel where it stops. Follow the product instructions for tightening and final adjustment. The driver should turn the fastener you selected, without making the material do the work of holding a mismatched part.
Lay out the panels for the next step
Find the faces the diagram shows. A finished edge or a line of predrilled holes can help you tell which side is up. Compare the drawing while you can see the full panel. When several parts have roughly the same length, look at the hole pattern before assuming which one is left or right. You can leave a removable paper label beside a panel so you can identify it once another piece covers the marking. Follow the directions about what surface to assemble on and what needs protection. Give the panels full stable support.
Place only the pieces for the next step within reach. If you are fitting a drawer, keep its sides together and see where their finished edges need to face. The back panel can stay somewhere clear until the instructions call for it. This makes it easier to stop if the work will go on for more than one evening. A partly built item needs to be left in a safe state and kept away from household traffic. Try to stop at a point described by the directions where the assembly can be stored securely. Put the small fasteners back in their compartments before leaving.
Think about the room in which the finished item will stand. A panel may pass through a doorway flat while the finished unit needs more room to turn. Measure the available route before joining the large pieces. A second person may also need floor space at one end during lifting, as directed by the instructions. If the final position is in a different room, the best place to assemble may be closer to it. Give yourself enough clear floor to work according to the maker's directions and leave a route you can keep open while you work.
Pause when two pieces meet in an unexpected way
If the fastener does not start as expected, compare the two faces of the panel with the drawing again. Check that the parts are oriented correctly and that the holes line up without having to hold one piece under strain. If a fastener seems too long, compare its code with the parts list. The moment before tightening is a good time to spot a difference. Forcing a joint can hide the original problem until a drawer or door has to fit elsewhere in the finished item.
Follow the sequence for tightening. Some instructions call for starting several connections before securing them. The loose stage gives the parts their intended room to align. Tighten only where and when the directions say to. If you discover a mistake, set the piece down safely and undo the relevant step as directed. You may be able to resolve a reversed piece without taking apart the whole item. If a hole, panel or fastener is damaged, ask the maker how to proceed instead of relying on the joint.
Keep tools away from the line of movement as you turn or position the unit. A screw left on the floor can mark a panel, and a driver lying beside a lifted edge can become hard to reach at the moment you need it. Put the tools in the same small place whenever you need both hands. This can be the tray beside you or a work surface away from the main path. Give the next step a clean floor before the item moves. The time spent collecting the small pieces is usually less than the time spent looking for them later.
Keep what will help with the next adjustment
Once the item is together, complete the checks in the instructions. Look at its level, placement, fasteners and any necessary securing before putting weight on it. Test the intended movement of doors or drawers in the way the maker describes. If the installation requires hardware appropriate to the wall or floor, use the required support and seek suitable help if you cannot confirm how it should be installed. A few spare pieces in the tray do not establish that the item is safe to use. Check them against the parts list and confirm that every required step is complete.
Save the instructions and any supplied adjustment tool where you can find them later. A small envelope with the model information can hold a spare fastener if the kit provides one. Label it with the furniture it belongs to. Put borrowed tools back and clear the cardboard after the job has passed its checks. For many small projects, the practical kit was the right hand tool, a way to read the sizes and a few places to keep parts apart. You can put it away knowing what you actually reached for, which will make the next instruction sheet easier to start.